
S.H.Figuarts MONKEY.D.LUFFY -GEAR5 FUTURE ISLAND EGGHEAD-

S.H.Figuarts KRILLIN -SON GOKU’S OLD FRIEND-

SAINT CLOTH MYTH EX ODIN SEIYA

S.H.Figuarts (SHINKOCCHOU SEIHOU) ULTRAMAN TIGA MULTI TYPE (STAR OF ULTRA Edition)

HG 1/144 DESTINY GUNDAM SpecⅡ[FINAL BATTLE IMAGE COLOR]

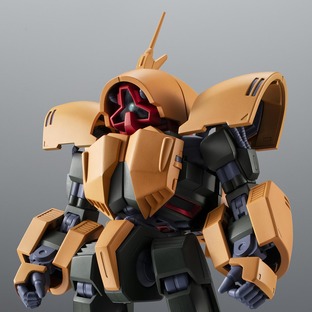
MG 1/100 BLAZE ZAKU PHANTOM (DEARKA ELTHMAN CUSTOM)

S.H.Figuarts MONKEY.D.LUFFY -GEAR5 FUTURE ISLAND EGGHEAD-

S.H.Figuarts KRILLIN -SON GOKU’S OLD FRIEND-

SAINT CLOTH MYTH EX ODIN SEIYA

S.H.Figuarts (SHINKOCCHOU SEIHOU) ULTRAMAN TIGA MULTI TYPE (STAR OF ULTRA Edition)

HG 1/144 DESTINY GUNDAM SpecⅡ[FINAL BATTLE IMAGE COLOR]

MG 1/100 BLAZE ZAKU PHANTOM (DEARKA ELTHMAN CUSTOM)

S.H.Figuarts MONKEY.D.LUFFY -GEAR5 FUTURE ISLAND EGGHEAD-

S.H.Figuarts KRILLIN -SON GOKU’S OLD FRIEND-

SAINT CLOTH MYTH EX ODIN SEIYA

S.H.Figuarts (SHINKOCCHOU SEIHOU) ULTRAMAN TIGA MULTI TYPE (STAR OF ULTRA Edition)
DELIVERY MONTH
SHOPS
NEW ARRIVALS
THE LATEST PRE-ORDER ITEMS FROM PREMIUM BANDAI
PRE-ORDERS OPEN Jun. 20, 3:00 AM (EDT)
THE ROBOT SPIRITS <SIDE MS> NRX-044 ASSHIMAR ver. A.N.I.M.E.
US$ 165.00
PRE-ORDERS OPEN Jun. 20, 3:00 AM (EDT)
THE ROBOT SPIRITS <SIDE MS> NRX-044 ASSHIMAR ver. A.N.I.M.E.
US$ 165.00

PRE-ORDERS OPEN Jun. 19, 3:00 AM (EDT)
METAL ROBOT SPIRITS <SIDE MS> GFreD
US$ 220.00
PRE-ORDERS OPEN Jun. 19, 3:00 AM (EDT)
METAL ROBOT SPIRITS <SIDE MS> GFreD
US$ 220.00
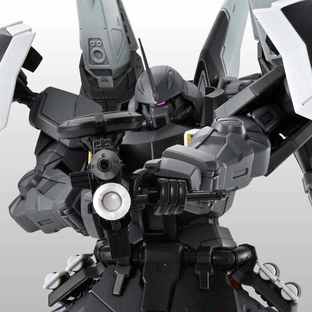
PRE-ORDERS OPEN Jun. 18, 9:00 PM (EDT)
MG 1/100 BLAZE ZAKU PHANTOM (DEARKA ELTHMAN CUSTOM)
US$ 65.00
PRE-ORDERS OPEN Jun. 18, 9:00 PM (EDT)
MG 1/100 BLAZE ZAKU PHANTOM (DEARKA ELTHMAN CUSTOM)
US$ 65.00
![HG 1/144 DESTINY GUNDAM SpecⅡ[FINAL BATTLE IMAGE COLOR]](https://p-bandai.com/img/us/p/t/N2801711001001_011.jpg)
PRE-ORDERS OPEN Jun. 18, 9:00 PM (EDT)
HG 1/144 DESTINY GUNDAM SpecⅡ[FINAL BATTLE IMAGE COLOR]
US$ 36.00
PRE-ORDERS OPEN Jun. 18, 9:00 PM (EDT)
HG 1/144 DESTINY GUNDAM SpecⅡ[FINAL BATTLE IMAGE COLOR]
US$ 36.00

PRE-ORDERS OPEN Jun. 13, 3:00 AM (EDT)
S.H.Figuarts BORSALINO -FUTURE ISLAND EGGHEAD-
US$ 165.00
PRE-ORDERS OPEN Jun. 13, 3:00 AM (EDT)
S.H.Figuarts BORSALINO -FUTURE ISLAND EGGHEAD-
US$ 165.00
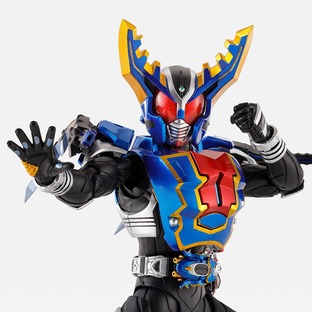
PRE-ORDERS OPEN Jun. 12, 3:00 AM (EDT)
S.H.Figuarts (SHINKOCCHOU SEIHOU) MASKED RIDER GATACK HYPER FORM
US$ 110.00
PRE-ORDERS OPEN Jun. 12, 3:00 AM (EDT)
S.H.Figuarts (SHINKOCCHOU SEIHOU) MASKED RIDER GATACK HYPER FORM
US$ 110.00
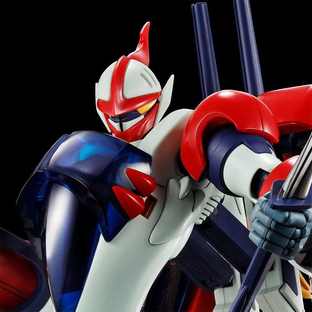
PRE-ORDERS OPEN Jun. 11, 9:00 PM (EDT)
R3 1/35 BILLBINE
US$ 73.00
PRE-ORDERS OPEN Jun. 11, 9:00 PM (EDT)
R3 1/35 BILLBINE
US$ 73.00
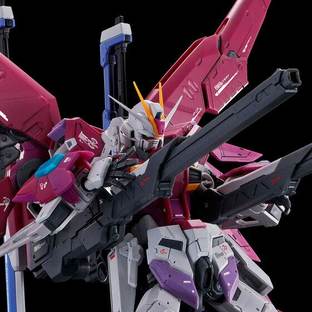
PRE-ORDERS OPEN Jun. 11, 9:00 PM (EDT)
RG 1/144 DESTINY IMPULSE GUNDAM
US$ 61.00
PRE-ORDERS OPEN Jun. 11, 9:00 PM (EDT)
RG 1/144 DESTINY IMPULSE GUNDAM
US$ 61.00
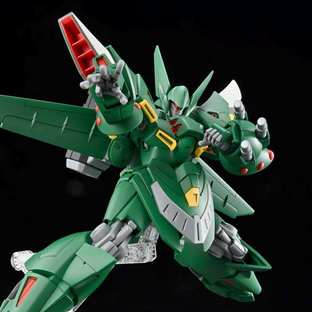
PRE-ORDERS OPEN Jun. 11, 9:00 PM (EDT)
HG GESPENST Mk-Ⅱ MASS PRODUCT MODEL(USE BY KAI)
US$ 57.00
PRE-ORDERS OPEN Jun. 11, 9:00 PM (EDT)
HG GESPENST Mk-Ⅱ MASS PRODUCT MODEL(USE BY KAI)
US$ 57.00
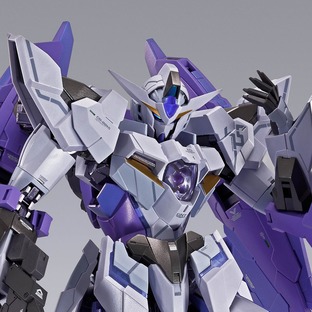
PRE-ORDERS OPEN Jun. 11, 7:00 PM (EDT)
METAL BUILD 1.5(EYES) GUNDAM
US$ 480.00
PRE-ORDERS OPEN Jun. 11, 7:00 PM (EDT)
METAL BUILD 1.5(EYES) GUNDAM
US$ 480.00
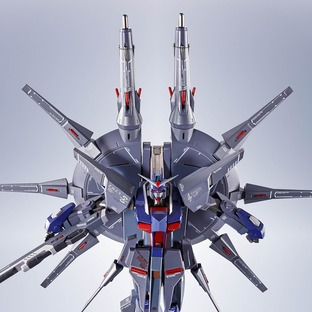
PRE-ORDERS OPEN Jun. 11, 7:00 PM (EDT)
METAL ROBOT SPIRITS <SIDE MS> LEGEND GUNDAM
US$ 245.00
PRE-ORDERS OPEN Jun. 11, 7:00 PM (EDT)
METAL ROBOT SPIRITS <SIDE MS> LEGEND GUNDAM
US$ 245.00
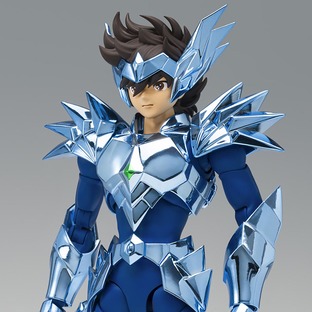
PRE-ORDERS OPEN Jun. 11, 7:00 PM (EDT)
SAINT CLOTH MYTH EX ODIN SEIYA
US$ 165.00
PRE-ORDERS OPEN Jun. 11, 7:00 PM (EDT)
SAINT CLOTH MYTH EX ODIN SEIYA
US$ 165.00
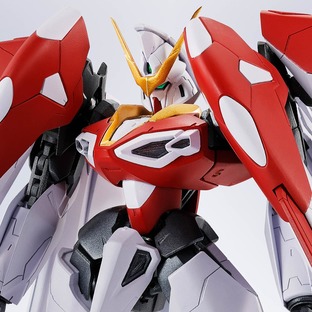
PRE-ORDERS OPEN Jun. 11, 7:00 PM (EDT)
THE ROBOT SPIRITS <SIDE MS>PHOENIX GUNDAM
US$ 140.00
PRE-ORDERS OPEN Jun. 11, 7:00 PM (EDT)
THE ROBOT SPIRITS <SIDE MS>PHOENIX GUNDAM
US$ 140.00
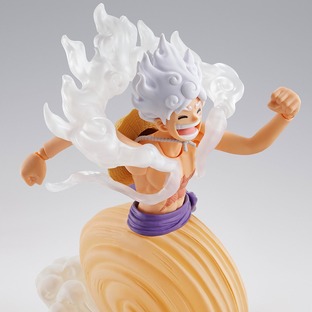
PRE-ORDERS OPEN Jun. 11, 7:00 PM (EDT)
S.H.Figuarts MONKEY.D.LUFFY -GEAR5 FUTURE ISLAND EGGHEAD-
US$ 110.00
PRE-ORDERS OPEN Jun. 11, 7:00 PM (EDT)
S.H.Figuarts MONKEY.D.LUFFY -GEAR5 FUTURE ISLAND EGGHEAD-
US$ 110.00
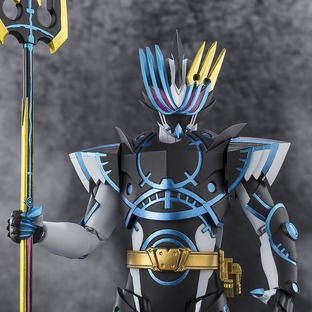
PRE-ORDERS OPEN Jun. 11, 7:00 PM (EDT)
S.H.Figuarts KAMEN RIDER DURENDAL OCEAN HISTORY
US$ 110.00
PRE-ORDERS OPEN Jun. 11, 7:00 PM (EDT)
S.H.Figuarts KAMEN RIDER DURENDAL OCEAN HISTORY
US$ 110.00
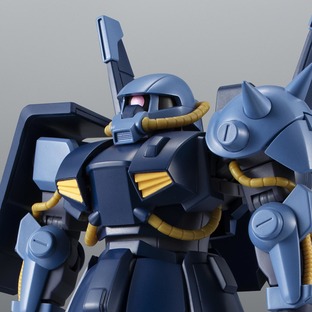
PRE-ORDERS OPEN Jun. 11, 7:00 PM (EDT)
THE ROBOT SPIRITS <SIDE MS> RMS-106 HI-ZACK (EARTH FEDERATION FORCE TYPE) ver. A.N.I.M.E.
US$ 105.00
PRE-ORDERS OPEN Jun. 11, 7:00 PM (EDT)
THE ROBOT SPIRITS <SIDE MS> RMS-106 HI-ZACK (EARTH FEDERATION FORCE TYPE) ver. A.N.I.M.E.
US$ 105.00
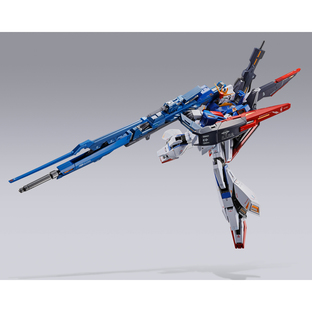
PRE-ORDERS OPEN Jun. 11, 7:00 PM (EDT)
METAL BUILD HYPER MEGA LAUNCHER OPTION SET
US$ 100.00
PRE-ORDERS OPEN Jun. 11, 7:00 PM (EDT)
METAL BUILD HYPER MEGA LAUNCHER OPTION SET
US$ 100.00
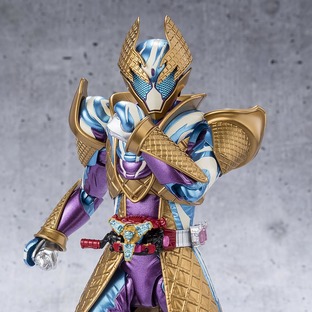
PRE-ORDERS OPEN Jun. 11, 7:00 PM (EDT)
S.H.Figuarts KAMEN RIDER GAVV BLIZZARD SORBET FORM
US$ 100.00
PRE-ORDERS OPEN Jun. 11, 7:00 PM (EDT)
S.H.Figuarts KAMEN RIDER GAVV BLIZZARD SORBET FORM
US$ 100.00

PRE-ORDERS OPEN Jun. 11, 7:00 PM (EDT)
S.H.Figuarts MOTHER OF ULTRA
US$ 90.00
PRE-ORDERS OPEN Jun. 11, 7:00 PM (EDT)
S.H.Figuarts MOTHER OF ULTRA
US$ 90.00
![METAL ROBOT SPIRITS <SIDE MS> WING OF LIGHT & EFFECT SET For DESTINY GUNDAM [Re:Coordinate]](https://p-bandai.com/img/us/p/t/N2802032001001_001.jpg)
PRE-ORDERS OPEN Jun. 11, 7:00 PM (EDT)
METAL ROBOT SPIRITS <SIDE MS> WING OF LIGHT & EFFECT SET For DESTINY GUNDAM [Re:Coordinate]
US$ 85.00
PRE-ORDERS OPEN Jun. 11, 7:00 PM (EDT)
METAL ROBOT SPIRITS <SIDE MS> WING OF LIGHT & EFFECT SET For DESTINY GUNDAM [Re:Coordinate]
US$ 85.00
![UNION ARENA NEW CARD SELECTION BLEACH: Thousand-Year Blood War [November 2025 Delivery]](https://p-bandai.com/img/us/p/t/N2802218001002_003.jpg)
PRE-ORDERS OPEN Jun. 5, 10:00 PM (EDT)
UNION ARENA NEW CARD SELECTION BLEACH: Thousand-Year Blood War [November 2025 Delivery]
US$ 25.00
PRE-ORDERS OPEN Jun. 5, 10:00 PM (EDT)
UNION ARENA NEW CARD SELECTION BLEACH: Thousand-Year Blood War [November 2025 Delivery]
US$ 25.00
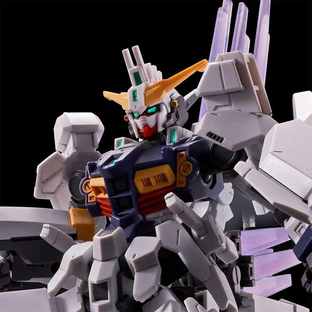
PRE-ORDERS OPEN Jun. 4, 9:00 PM (EDT)
HG 1/144 GUNDAM ZIRIUS
US$ 36.00
PRE-ORDERS OPEN Jun. 4, 9:00 PM (EDT)
HG 1/144 GUNDAM ZIRIUS
US$ 36.00
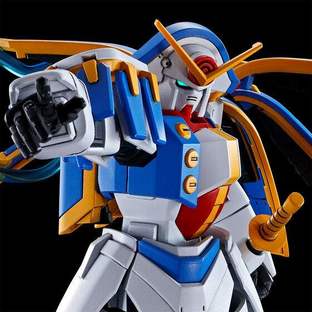
PRE-ORDERS OPEN Jun. 4, 9:00 PM (EDT)
HG 1/144 GUNDAM ROSE
US$ 35.00
PRE-ORDERS OPEN Jun. 4, 9:00 PM (EDT)
HG 1/144 GUNDAM ROSE
US$ 35.00
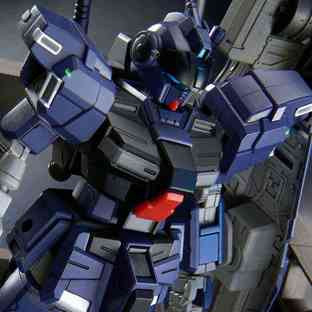
PRE-ORDERS OPEN Jun. 4, 9:00 PM (EDT)
HG 1/144 PALE RIDER DⅡ (TITANS)
US$ 32.00
PRE-ORDERS OPEN Jun. 4, 9:00 PM (EDT)
HG 1/144 PALE RIDER DⅡ (TITANS)
US$ 32.00
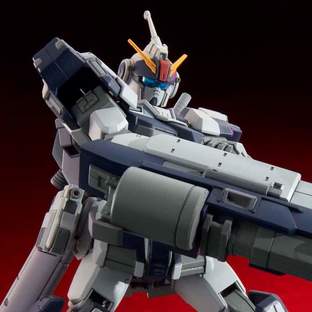
PRE-ORDERS OPEN Jun. 4, 9:00 PM (EDT)
HG 1/144 PALE RIDER CAVALRY
US$ 32.00
PRE-ORDERS OPEN Jun. 4, 9:00 PM (EDT)
HG 1/144 PALE RIDER CAVALRY
US$ 32.00
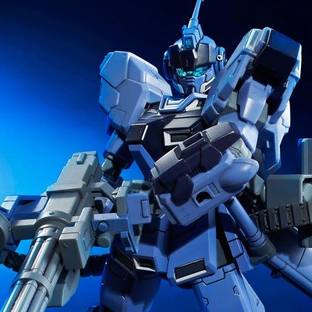
PRE-ORDERS OPEN Jun. 4, 9:00 PM (EDT)
HG 1/144 PALE RIDER (SPACE TYPE)
US$ 29.00
PRE-ORDERS OPEN Jun. 4, 9:00 PM (EDT)
HG 1/144 PALE RIDER (SPACE TYPE)
US$ 29.00
![HG 1/144 GUNDAM TR-6 [WONDWORT]](https://p-bandai.com/img/us/p/t/N2417175001008_019.jpg)
PRE-ORDERS OPEN Jun. 4, 9:00 PM (EDT)
HG 1/144 GUNDAM TR-6 [WONDWORT]
US$ 28.00
PRE-ORDERS OPEN Jun. 4, 9:00 PM (EDT)
HG 1/144 GUNDAM TR-6 [WONDWORT]
US$ 28.00
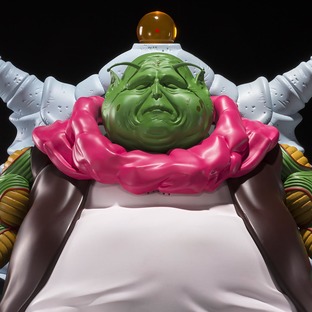
PRE-ORDERS OPEN May. 30, 3:00 AM (EDT)
S.H.Figuarts THE GREAT ELDER
US$ 310.00
PRE-ORDERS OPEN May. 30, 3:00 AM (EDT)
S.H.Figuarts THE GREAT ELDER
US$ 310.00
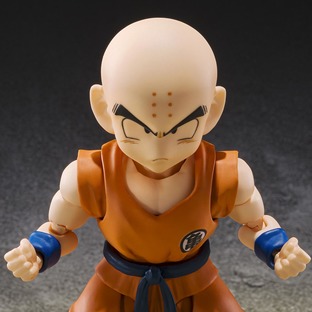
PRE-ORDERS OPEN May. 30, 3:00 AM (EDT)
S.H.Figuarts KRILLIN -SON GOKU’S OLD FRIEND-
US$ 80.00
PRE-ORDERS OPEN May. 30, 3:00 AM (EDT)
S.H.Figuarts KRILLIN -SON GOKU’S OLD FRIEND-
US$ 80.00
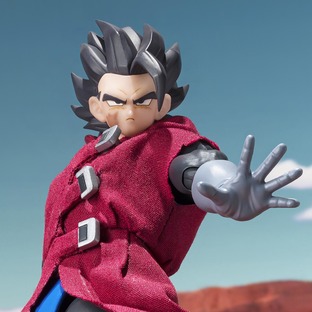
PRE-ORDERS OPEN May. 22, 3:00 AM (EDT)
S.H.Figuarts GIBLET
US$ 110.00
PRE-ORDERS OPEN May. 22, 3:00 AM (EDT)
S.H.Figuarts GIBLET
US$ 110.00
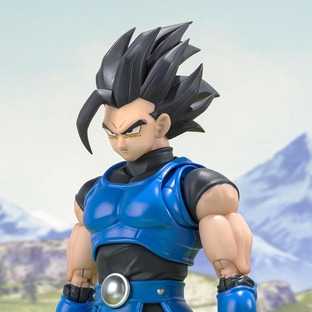
PRE-ORDERS OPEN May. 22, 3:00 AM (EDT)
S.H.Figuarts SHALLOT
US$ 90.00
PRE-ORDERS OPEN May. 22, 3:00 AM (EDT)
S.H.Figuarts SHALLOT
US$ 90.00
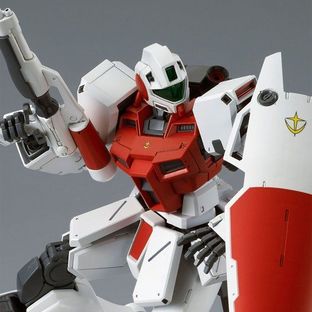
PRE-ORDERS OPEN May. 14, 9:00 PM (EDT)
MG 1/100 GM COMMAND SPACE
US$ 52.00
PRE-ORDERS OPEN May. 14, 9:00 PM (EDT)
MG 1/100 GM COMMAND SPACE
US$ 52.00

PRE-ORDERS OPEN May. 14, 9:00 PM (EDT)
LBX Odin Mk-2
US$ 24.00
PRE-ORDERS OPEN May. 14, 9:00 PM (EDT)
LBX Odin Mk-2
US$ 24.00
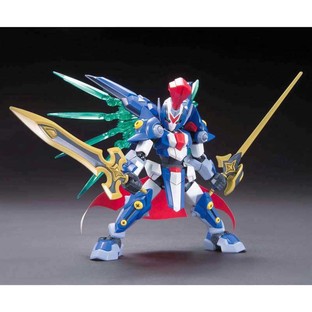
PRE-ORDERS OPEN May. 14, 9:00 PM (EDT)
LBX Achilles D9
US$ 20.00
PRE-ORDERS OPEN May. 14, 9:00 PM (EDT)
LBX Achilles D9
US$ 20.00
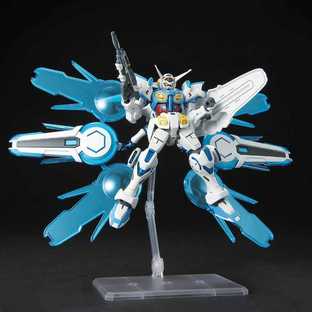
PRE-ORDERS OPEN May. 7, 9:00 PM (EDT)
HG 1/144 THE GUNDAM BASE LIMITED G-SELF PERFECT PACK (Reconguista in G the Movie Ver.)
US$ 49.00
PRE-ORDERS OPEN May. 7, 9:00 PM (EDT)
HG 1/144 THE GUNDAM BASE LIMITED G-SELF PERFECT PACK (Reconguista in G the Movie Ver.)
US$ 49.00
![PG 1/60 RX-0 UNICORN GUNDAM [FINAL BATTLE Ver.]](https://p-bandai.com/img/us/p/t/N2303443001007_012.jpg)
PRE-ORDERS OPEN Apr. 30, 9:00 PM (EDT)
PG 1/60 RX-0 UNICORN GUNDAM [FINAL BATTLE Ver.]
US$ 328.00
PRE-ORDERS OPEN Apr. 30, 9:00 PM (EDT)
PG 1/60 RX-0 UNICORN GUNDAM [FINAL BATTLE Ver.]
US$ 328.00
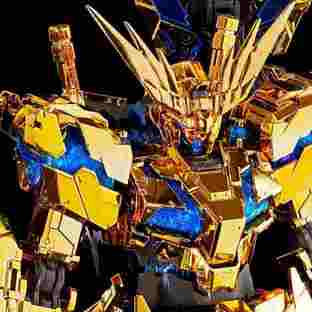
PRE-ORDERS OPEN Apr. 30, 9:00 PM (EDT)
RG 1/144 UNICORN GUNDAM 03 PHENEX (NARRATIVE Ver.)
US$ 162.00
PRE-ORDERS OPEN Apr. 30, 9:00 PM (EDT)
RG 1/144 UNICORN GUNDAM 03 PHENEX (NARRATIVE Ver.)
US$ 162.00

PRE-ORDERS OPEN Apr. 30, 9:00 PM (EDT)
MG 1/100 GUNDAM STORMBRINGER F.A. / GM TURBULENCE
US$ 80.00
PRE-ORDERS OPEN Apr. 30, 9:00 PM (EDT)
MG 1/100 GUNDAM STORMBRINGER F.A. / GM TURBULENCE
US$ 80.00
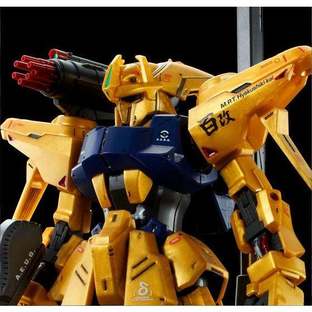
PRE-ORDERS OPEN Apr. 30, 9:00 PM (EDT)
MG 1/100 MASS-PRODUCED HYAKUSHIKI-KAI
US$ 78.00
PRE-ORDERS OPEN Apr. 30, 9:00 PM (EDT)
MG 1/100 MASS-PRODUCED HYAKUSHIKI-KAI
US$ 78.00
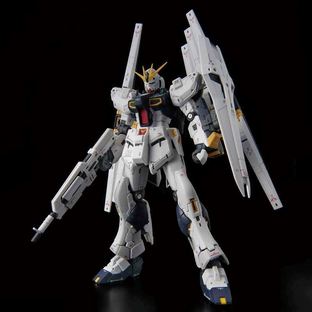
PRE-ORDERS OPEN Apr. 30, 9:00 PM (EDT)
RG 1/144 v GUNDAM(DOUBLE FIN FUNNEL TYPE)
US$ 71.00
PRE-ORDERS OPEN Apr. 30, 9:00 PM (EDT)
RG 1/144 v GUNDAM(DOUBLE FIN FUNNEL TYPE)
US$ 71.00
IN STOCK ITEMS
THE LATEST IN-STOCK ITEMS FROM PREMIUM BANDAI

ORDERS OPEN May. 19, 9:00 PM (EDT)
Sanrio Bath Bomb Kamatte Kyun FULL BOX 15pcs
US$ 135.00
ORDERS OPEN May. 19, 9:00 PM (EDT)
Sanrio Bath Bomb Kamatte Kyun FULL BOX 15pcs
US$ 135.00
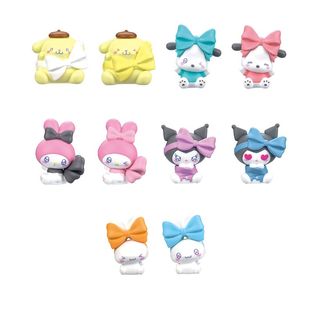
ORDERS OPEN May. 19, 9:00 PM (EDT)
Sanrio Bath Bomb Bikkura My Fave Color FULL BOX 15pcs
US$ 120.00
ORDERS OPEN May. 19, 9:00 PM (EDT)
Sanrio Bath Bomb Bikkura My Fave Color FULL BOX 15pcs
US$ 120.00
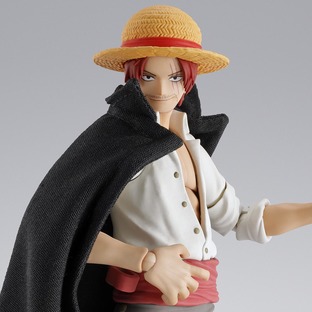
ORDERS OPEN May. 12, 10:00 PM (EDT)
S.H.Figuarts SHANKS&MONKEY.D.LUFFY -CHILDHOOD-
US$ 82.00
ORDERS OPEN May. 12, 10:00 PM (EDT)
S.H.Figuarts SHANKS&MONKEY.D.LUFFY -CHILDHOOD-
US$ 82.00
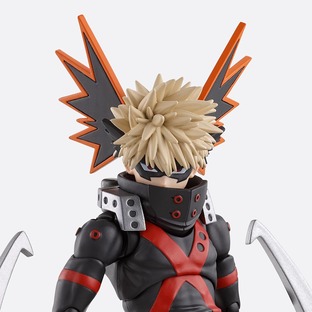
ORDERS OPEN May. 12, 10:00 PM (EDT)
S.H.Figuarts KATSUKI BAKUGO
US$ 80.00
ORDERS OPEN May. 12, 10:00 PM (EDT)
S.H.Figuarts KATSUKI BAKUGO
US$ 80.00
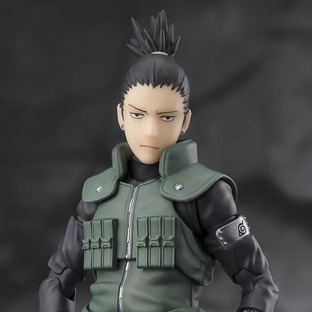
ORDERS OPEN May. 12, 10:00 PM (EDT)
S.H.Figuarts SHIKAMARU NARA -Brilliant Strategist-
US$ 75.00
ORDERS OPEN May. 12, 10:00 PM (EDT)
S.H.Figuarts SHIKAMARU NARA -Brilliant Strategist-
US$ 75.00
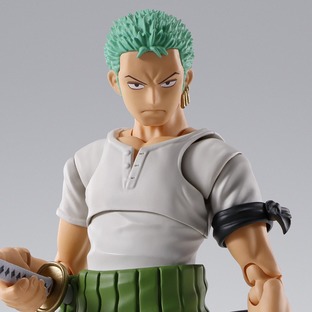
ORDERS OPEN May. 12, 10:00 PM (EDT)
S.H.Figuarts RORONOA.ZORO -ROMANCE DAWN-
US$ 65.00
ORDERS OPEN May. 12, 10:00 PM (EDT)
S.H.Figuarts RORONOA.ZORO -ROMANCE DAWN-
US$ 65.00
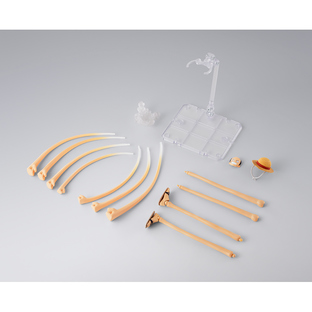
ORDERS OPEN May. 12, 10:00 PM (EDT)
S.H.Figuarts MONKEY.D.LUFFY -ROMANCE DAWN- Gum-Gum OPTION PARTS SET
US$ 40.00
ORDERS OPEN May. 12, 10:00 PM (EDT)
S.H.Figuarts MONKEY.D.LUFFY -ROMANCE DAWN- Gum-Gum OPTION PARTS SET
US$ 40.00
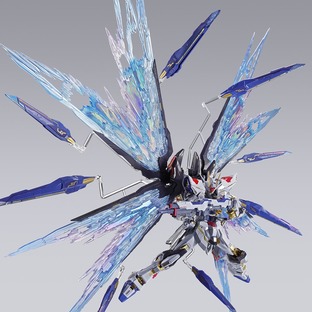
ORDERS OPEN May. 12, 9:00 PM (EDT)
METAL BUILD STRIKE FREEDOM GUNDAM ”WING OF LIGHT”OPTION SET
US$ 90.00
ORDERS OPEN May. 12, 9:00 PM (EDT)
METAL BUILD STRIKE FREEDOM GUNDAM ”WING OF LIGHT”OPTION SET
US$ 90.00
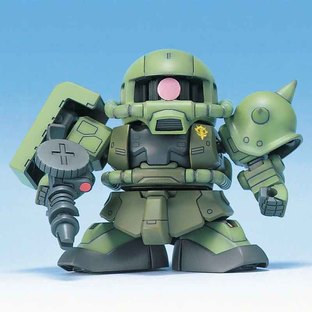
ORDERS OPEN Apr. 23, 9:30 PM (EDT)
BB SENSHI MOBILE SUIT GUNDAM PRINCIPALITY OF ZEON MOBILE SUIT SET
US$ 36.00
ORDERS OPEN Apr. 23, 9:30 PM (EDT)
BB SENSHI MOBILE SUIT GUNDAM PRINCIPALITY OF ZEON MOBILE SUIT SET
US$ 36.00
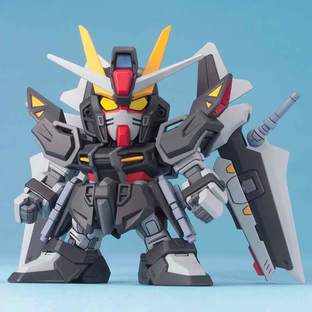
ORDERS OPEN Apr. 23, 9:30 PM (EDT)
BB SENSHI C.E.73 -STARGAZER- SET
US$ 36.00
ORDERS OPEN Apr. 23, 9:30 PM (EDT)
BB SENSHI C.E.73 -STARGAZER- SET
US$ 36.00
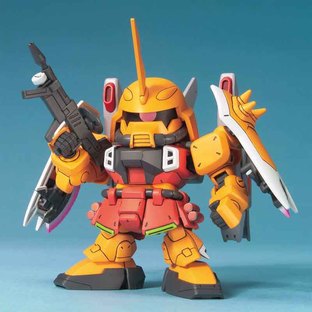
ORDERS OPEN Apr. 23, 9:30 PM (EDT)
BB SENSHI ZGMF ZAKU SERIES SET
US$ 36.00
ORDERS OPEN Apr. 23, 9:30 PM (EDT)
BB SENSHI ZGMF ZAKU SERIES SET
US$ 36.00
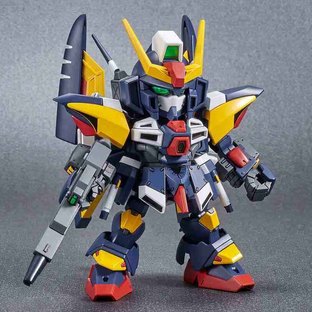
ORDERS OPEN Apr. 23, 9:30 PM (EDT)
SD GUNDAM CROSS SILHOUETTE TORNADO GUNDAM
US$ 22.00
ORDERS OPEN Apr. 23, 9:30 PM (EDT)
SD GUNDAM CROSS SILHOUETTE TORNADO GUNDAM
US$ 22.00
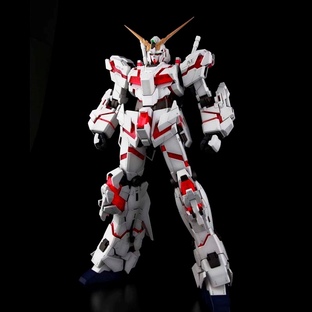
ORDERS OPEN Mar. 3, 9:00 PM (EST)
PG 1/60 RX-0 UNICORN GUNDAM
US$ 236.00
ORDERS OPEN Mar. 3, 9:00 PM (EST)
PG 1/60 RX-0 UNICORN GUNDAM
US$ 236.00
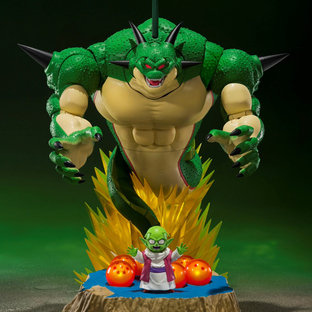
ORDERS OPEN Feb. 19, 9:00 PM (EST)
S.H.Figuarts PORUNGA & DENDE LUMINOUS DRAGON BALL SET -COME FORTH, GENUINE SHENRON!!-
US$ 300.00
ORDERS OPEN Feb. 19, 9:00 PM (EST)
S.H.Figuarts PORUNGA & DENDE LUMINOUS DRAGON BALL SET -COME FORTH, GENUINE SHENRON!!-
US$ 300.00
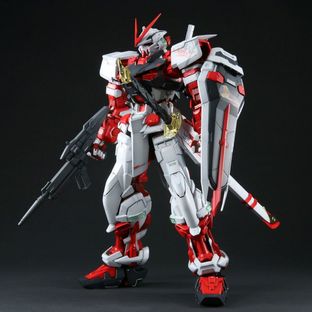
ORDERS OPEN Feb. 15, 1:00 PM (EST)
PG 1/60 GUNDAM ASTRAY RED FRAME
US$ 211.00
ORDERS OPEN Feb. 15, 1:00 PM (EST)
PG 1/60 GUNDAM ASTRAY RED FRAME
US$ 211.00
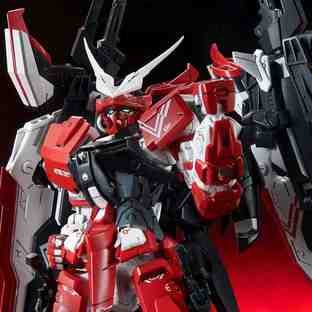
ORDERS OPEN Feb. 15, 1:00 PM (EST)
MG 1/100 MBF-02VV GUNDAM ASTRAY TURN RED
US$ 85.00
ORDERS OPEN Feb. 15, 1:00 PM (EST)
MG 1/100 MBF-02VV GUNDAM ASTRAY TURN RED
US$ 85.00
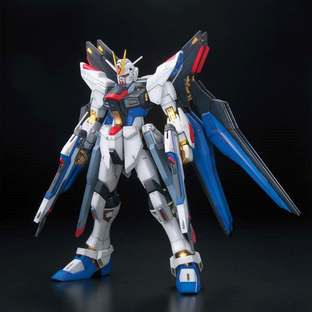
ORDERS OPEN Feb. 15, 1:00 PM (EST)
MG 1/100 STRIKE FREEDOM GUNDAM FULL BURST MODE
US$ 72.00
ORDERS OPEN Feb. 15, 1:00 PM (EST)
MG 1/100 STRIKE FREEDOM GUNDAM FULL BURST MODE
US$ 72.00
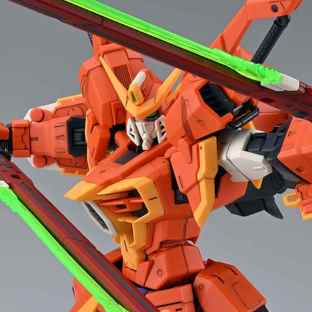
ORDERS OPEN Feb. 15, 1:00 PM (EST)
FULL MECHANICS 1/100 SWORD CALAMITY GUNDAM
US$ 66.00
ORDERS OPEN Feb. 15, 1:00 PM (EST)
FULL MECHANICS 1/100 SWORD CALAMITY GUNDAM
US$ 66.00
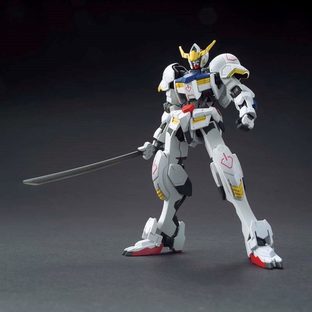
ORDERS OPEN Feb. 15, 1:00 PM (EST)
HG 1/144 GUNDAM BARBATOS & LONG DISTANCE TRANSPORT BOOSTER KUTAN SANGATA
US$ 61.00
ORDERS OPEN Feb. 15, 1:00 PM (EST)
HG 1/144 GUNDAM BARBATOS & LONG DISTANCE TRANSPORT BOOSTER KUTAN SANGATA
US$ 61.00
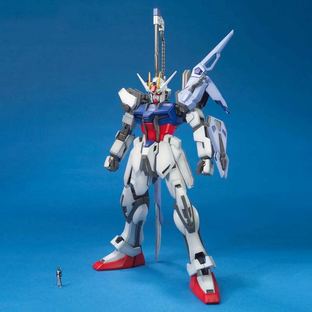
ORDERS OPEN Feb. 15, 1:00 PM (EST)
MG 1/100 STRIKE GUNDAM LAUNCHER / SWORD
US$ 61.00
ORDERS OPEN Feb. 15, 1:00 PM (EST)
MG 1/100 STRIKE GUNDAM LAUNCHER / SWORD
US$ 61.00
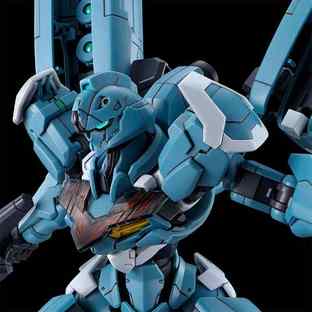
ORDERS OPEN Feb. 15, 1:00 PM (EST)
HG 1/144 GUNDAM LFRITH PRE-PRODUCTION MODEL
US$ 26.00
ORDERS OPEN Feb. 15, 1:00 PM (EST)
HG 1/144 GUNDAM LFRITH PRE-PRODUCTION MODEL
US$ 26.00
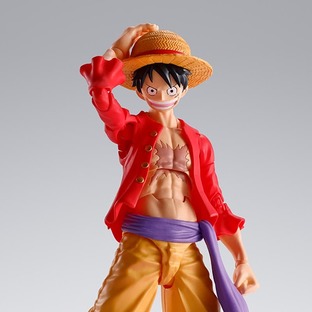
ORDERS OPEN Feb. 10, 8:01 PM (EST)
S.H.Figuarts Monkey D.Luffy -The Raid on Onigashima-
US$ 35.00
ORDERS OPEN Feb. 10, 8:01 PM (EST)
S.H.Figuarts Monkey D.Luffy -The Raid on Onigashima-
US$ 35.00
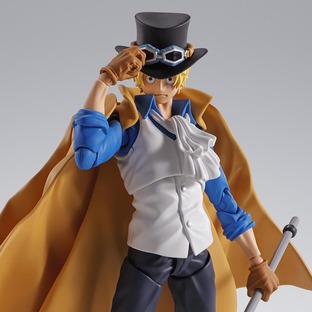
ORDERS OPEN Feb. 10, 8:00 PM (EST)
S.H.Figuarts Sabo - Revolutionary Army Chief of Staff -
US$ 65.00
ORDERS OPEN Feb. 10, 8:00 PM (EST)
S.H.Figuarts Sabo - Revolutionary Army Chief of Staff -
US$ 65.00
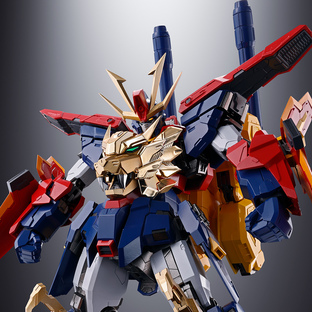
ORDERS OPEN Feb. 6, 8:00 PM (EST)
Soul of Chogokin GX-113 Gundam Tryon 3
US$ 360.00
ORDERS OPEN Feb. 6, 8:00 PM (EST)
Soul of Chogokin GX-113 Gundam Tryon 3
US$ 360.00
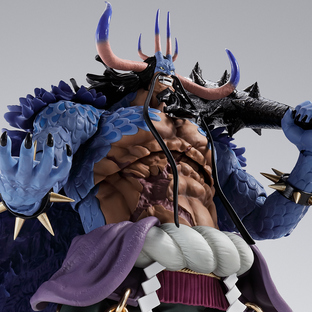
ORDERS OPEN Feb. 6, 8:00 PM (EST)
S.H.Figuarts KAIDOU King of the Beasts (Man-Beast form)
US$ 240.00
ORDERS OPEN Feb. 6, 8:00 PM (EST)
S.H.Figuarts KAIDOU King of the Beasts (Man-Beast form)
US$ 240.00
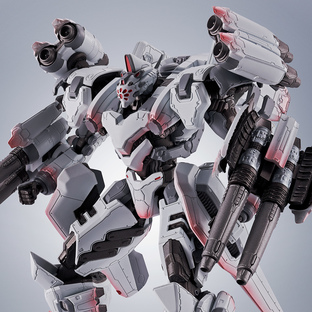
ORDERS OPEN Feb. 6, 8:00 PM (EST)
Robot Spirits <Side AC> IB-07: SOL 644 / Ayre
US$ 165.00
ORDERS OPEN Feb. 6, 8:00 PM (EST)
Robot Spirits <Side AC> IB-07: SOL 644 / Ayre
US$ 165.00

ORDERS OPEN Feb. 6, 8:00 PM (EST)
S.H.MonsterArts Godzilla (2023) Minus Color ver.
US$ 135.00
ORDERS OPEN Feb. 6, 8:00 PM (EST)
S.H.MonsterArts Godzilla (2023) Minus Color ver.
US$ 135.00
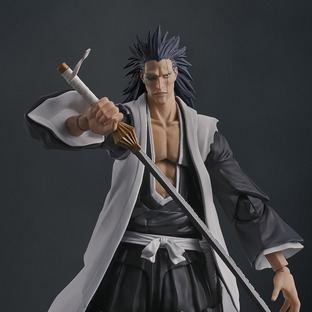
ORDERS OPEN Feb. 6, 8:00 PM (EST)
S.H.Figuarts Kenpachi Zaraki
US$ 88.00
ORDERS OPEN Feb. 6, 8:00 PM (EST)
S.H.Figuarts Kenpachi Zaraki
US$ 88.00
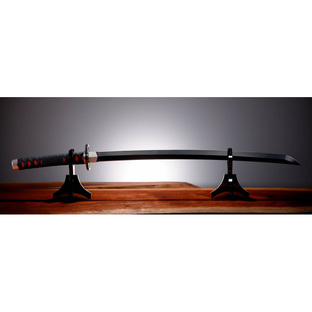
ORDERS OPEN Feb. 6, 8:00 PM (EST)
Proplica Nichirin Sword(Tanjiro Kamado)
US$ 80.00
ORDERS OPEN Feb. 6, 8:00 PM (EST)
Proplica Nichirin Sword(Tanjiro Kamado)
US$ 80.00

ORDERS OPEN Feb. 6, 8:00 PM (EST)
S.H.MonsterArts Kong From Godzilla x Kong: The New Empire (2024)
US$ 75.00
ORDERS OPEN Feb. 6, 8:00 PM (EST)
S.H.MonsterArts Kong From Godzilla x Kong: The New Empire (2024)
US$ 75.00
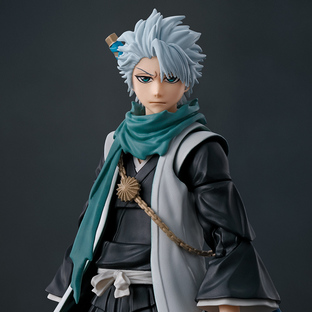
ORDERS OPEN Feb. 6, 8:00 PM (EST)
S.H.Figuarts Toushiro Hitsugaya
US$ 70.00
ORDERS OPEN Feb. 6, 8:00 PM (EST)
S.H.Figuarts Toushiro Hitsugaya
US$ 70.00

ORDERS OPEN Feb. 6, 8:00 PM (EST)
S.H.Figuarts Yusuke Urameshi
US$ 70.00
ORDERS OPEN Feb. 6, 8:00 PM (EST)
S.H.Figuarts Yusuke Urameshi
US$ 70.00
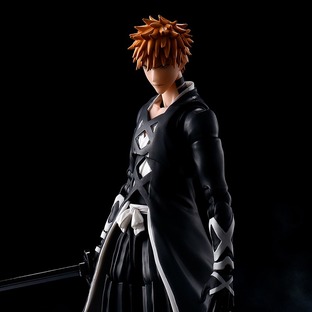
ORDERS OPEN Feb. 6, 8:00 PM (EST)
S.H.Figuarts Ichigo Kurosaki -Bankai・Tensazagetsu-
US$ 68.00
ORDERS OPEN Feb. 6, 8:00 PM (EST)
S.H.Figuarts Ichigo Kurosaki -Bankai・Tensazagetsu-
US$ 68.00

ORDERS OPEN Feb. 6, 8:00 PM (EST)
S.H.Figuarts Nami -Romance Dawn-
US$ 65.00
ORDERS OPEN Feb. 6, 8:00 PM (EST)
S.H.Figuarts Nami -Romance Dawn-
US$ 65.00
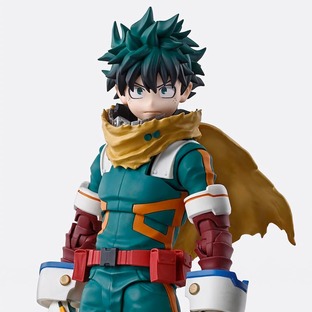
ORDERS OPEN Feb. 6, 8:00 PM (EST)
S.H.Figuarts Izuku Midoriya
US$ 65.00
ORDERS OPEN Feb. 6, 8:00 PM (EST)
S.H.Figuarts Izuku Midoriya
US$ 65.00
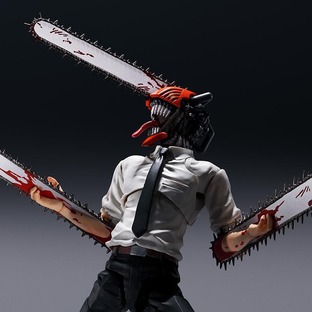
ORDERS OPEN Feb. 6, 8:00 PM (EST)
S.H.Figuarts Chainsaw Man
US$ 65.00
ORDERS OPEN Feb. 6, 8:00 PM (EST)
S.H.Figuarts Chainsaw Man
US$ 65.00
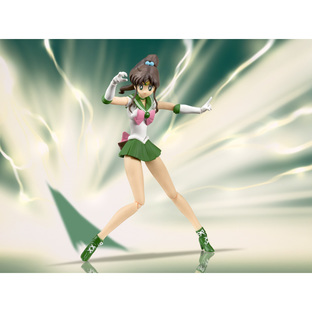
ORDERS OPEN Feb. 6, 8:00 PM (EST)
S.H.Figuarts Sailor Jupiter -Animation Color Edition-
US$ 60.00
ORDERS OPEN Feb. 6, 8:00 PM (EST)
S.H.Figuarts Sailor Jupiter -Animation Color Edition-
US$ 60.00

ORDERS OPEN Feb. 6, 8:00 PM (EST)
S.H.Figuarts Sailor Venus -Animation Color Edition-
US$ 60.00
ORDERS OPEN Feb. 6, 8:00 PM (EST)
S.H.Figuarts Sailor Venus -Animation Color Edition-
US$ 60.00

ORDERS OPEN Feb. 6, 8:00 PM (EST)
S.H.Figuarts Sailor Mercury -Animation Color Edition-
US$ 60.00
ORDERS OPEN Feb. 6, 8:00 PM (EST)
S.H.Figuarts Sailor Mercury -Animation Color Edition-
US$ 60.00

ORDERS OPEN Feb. 6, 8:00 PM (EST)
S.H.Figuarts Sailor Moon -Animation Color Edition-
US$ 60.00
ORDERS OPEN Feb. 6, 8:00 PM (EST)
S.H.Figuarts Sailor Moon -Animation Color Edition-
US$ 60.00
SPECIAL EVENTS
TAKE A CLOSER LOOK
RECOMMENDATIONS
"Functional cookies" must be enabled in order to receive recommendations.
Please click [Cookie Settings] to enable or disable cookies on our website.
PRE-ORDERS CLOSING SOON
DON'T MISS OUT!
RECENTLY VIEWED
"Functional cookies" must be enabled in order to receive recommendations.
Please click [Cookie Settings] to enable or disable cookies on our website.
WHAT IS PREMIUM BANDAI?
Premium Bandai is Bandai's official online store.
From figures and jewelry to items ripped straight out of anime you love, Premium Bandai has high-quality merchandise that will set your heart ablaze.
-
Limited-time -
Limited-run -
Pre-order only
*Some products are not limited-run.
More Informationfor First-time Visitorsi
SITE NEWS
THE LATEST FROM PREMIUM BANDAI
The Bikkura Bath Bombs are available now on Premium Bandai USA!
Check out the line-up and learn how to play!
We will be renewing our website on Jul. 16 9:00 PM (EDT)! Click here for more information.
For information regarding tariff changes, please click here.
FREE SHIPPING on orders $120 or more from Apr. 17 - May 31!
Applicable for all Bandai Namco Toys & Collectibles America Inc. items.
















![DIGIMON CARD GAME DIGIMON LIBERATOR DEBUGGERS SET [PB-22]](https://p-bandai.com/img/us/p/t/N2799966001001_002.jpg)


